In our previous post on clasp and Google App Script code we discovered how we can pull code down locally, do our edits and then push it back to Google Apps.
This is great when we’re working on code on the back-end of Google Sheets, or Google Forms, or any of the other great Google Apps.
However, what do you do when you want to write code, but you don’t want someone ‘accidentally’ editing your code?
Is there a way where you can write your code and then link to it within a project and have it run without the worry someone will break it?
Yes, of course!
We will still be using the fantastic processes of clasp, but this time we’ll be creating a new project. So instead of cloning a project to our local computer we’ll start by creating a new directory and creating a project there.
Create project
Create a new project with WebStorm of your favourite code editor. Initialise npm in your new directory (if you haven’t already done so):
Install clasp globally if you haven’t already done so:
Or check you have the latest version:
To create a new project it’s just a matter of making sure you’re logged in and progressing through the prompts:
Then simply creating a new project:
Create Ignore File
You’ll want to exclude files from being a part of the project, so you may want to look at creating a .claspignore file. My file tends to have these added:
Add gas-lib
Before jumping into the code you may also want to install a developer dependency to your project if you’re interfacing with Google Apps. I’d highly recommend adding a library to help with code completion:
Write Your Code
The next part of the journey is all over to you as you write your code.
If this takes time, and you want to keep your code safely stored on Google’s cloud then feel free to run the following command while you work away:
Create version
Then when you’re ready to publish your code for publication and use you need to create a version:
You should see a version number followed by a hash which represents the Deployment ID your script.
Do I need to re-deploy if I make changes?
Should you need to make any additional changes after having deployed your code you can still clasp push the code to Google Apps, but instead of using clasp deploy you will use the following command:
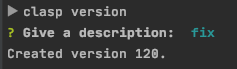
The difference with this procedure is that you will need to provide a description for the new deployment version. As I find I’m only maintaining one source code most of my descriptions have been annotated with “fix X”, but feel free to use a better descriptor to suit your needs.
For example, if I’ve just made a fix to the code base on my computer, I could annotate the description like so:
So now you’ve pushed your code up to Google Apps, how can you use it in the backend of other Google Apps?
Get Your Script ID
All you need is your Script ID for other Google App Scripts to use it.
Thankfully it’s just a simple command away. In your terminal enter the following command:
When you do your script will open up in a browser window and on the terminal prompt you will see a URL which would have the following schematic:
You can either try to capture the SCRIPT_ID_HASH from the URL in your terminal, or browser window, or you can fetch your Script ID from within the browser window clicking on File > Project Properties, and you should see on the pop-up modal a field labelled Script ID.
Import Your Code
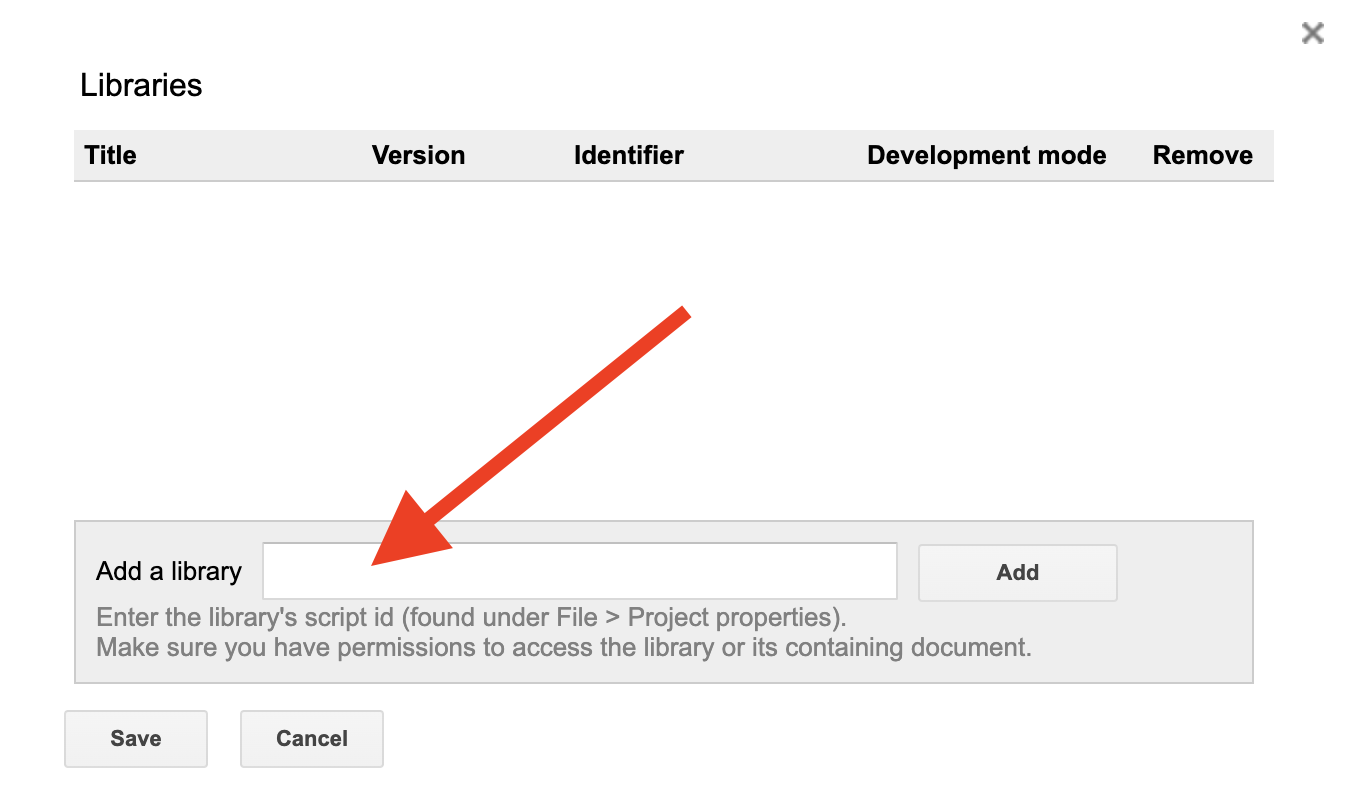
Finally, to be able to import your code into another project you from the other projects’ code editor click on the Resources menu then click on Libraries....
You should see an area from this modal window where you can paste your Script ID:
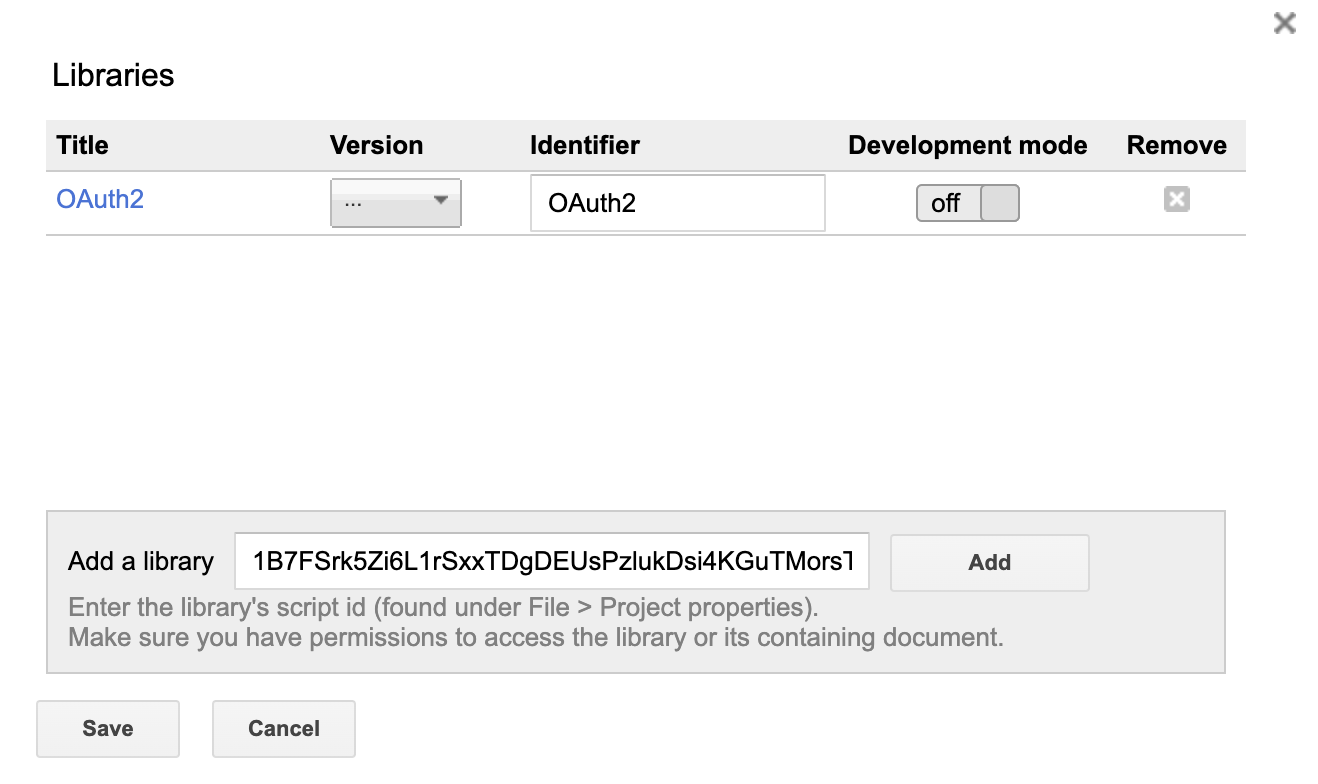
When you do successfully add your code you have the option of giving the library a callable name. I prefer to keep this as the default name of the library as it helps to keep things easy to maintain. If you do change the name, you may find having to update the name each time you update your version!
Here I’m adding Google App’s OAUTH2 library to my code, which is the same process for adding your own:
Once you’ve then correctly added this Script to your project you must select a version to apply. Here I’m just selecting the latest version. Should the Script author update their code you will need to manually open this Libraries’ modal window and select the new version.
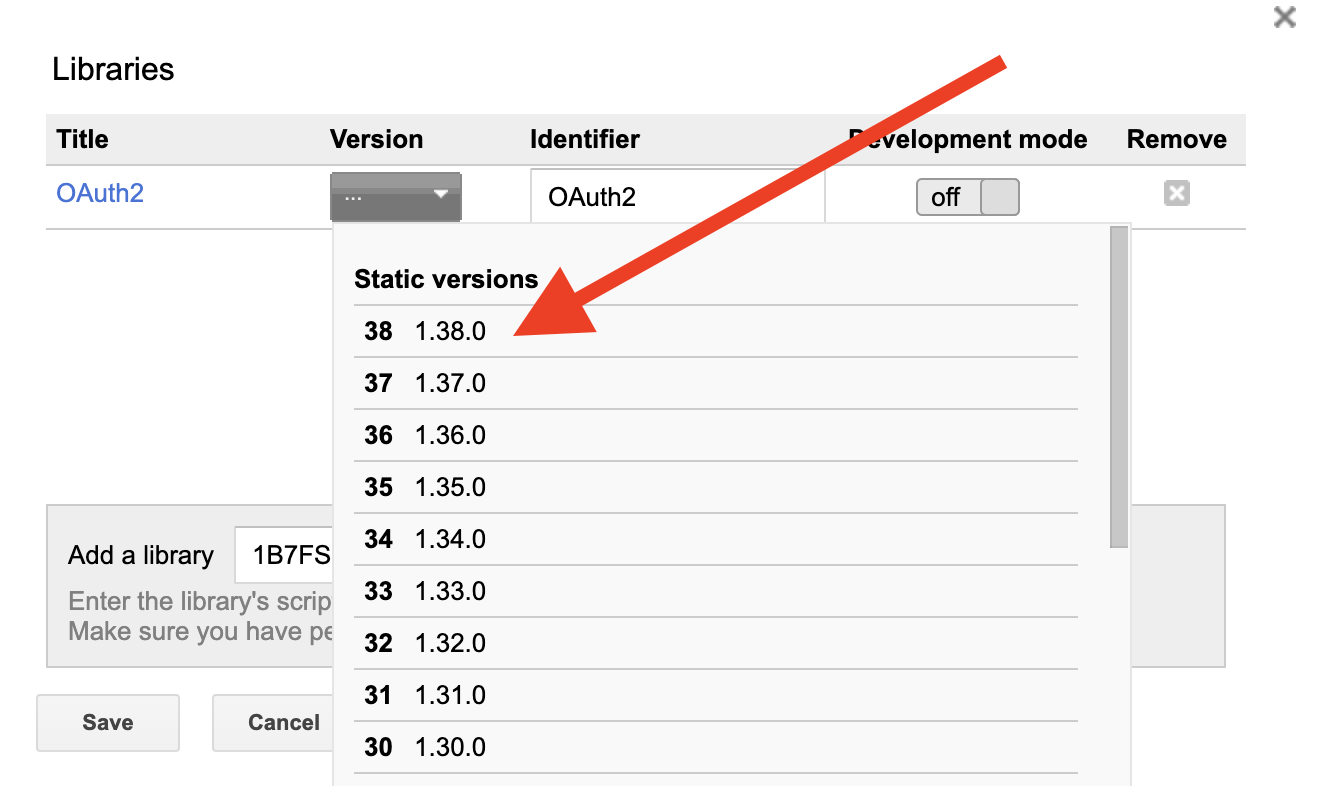
To reiterate again there shouldn’t be a need to change the Identifer field on this window, but if you must then do so here.
The purpose of the Identifier is that this is the referring Object name that is used in the projects code to use the functions of the inserted library.
Once you’re happy with everything just click the Save button.
Use It In Your Code
From here on out it’s now just a matter of referencing the new library in your code by using the Identifier.
So if we were using the OAuth2 library in our code it would look something like this:
Google App Script Library: Summary
In this post you’ve been able to learn how to create a custom library in Google App Script.
You’ve seen how easy it is to deploy a new script, how to update it (if needed), how to import this library into your new projects, and how to reference it in your new project.
Creating your own libraries in Google Apps will help you to:
- Reuse common libraries when interfacing with certain Google Apps
- Prevent anyone ‘accidentally’ clicking around and removing your code
- Easier access to code and to update, rather than trying to find the Document, clicking Script Editor (etc)
Have fun using Google clasp in your projects!