How do you download images using Selenium Python?
Selenium provides a way to create a screenshot of your browser’s view using the .save_screenshot(file_name) method, but this will take a photo of the viewport – what if you just want to download the image as it is?
Unfortunately, Selenium doesn’t have the capability of selecting menu items in your browser window, therefore you will need to install a library that can help select menu items to the browser.
Here are the two means of downloading images using Selenium with Python code.
Create Screenshot Using Selenium
The only native approach without installing any additional libraries is to use the method save_screenshot() as demonstrated in the Python REPL below:
| |
I enjoy using another library to help manage the Chrome Drivers needed to control my Chrome web browser and I’d highly recommend the webdriver manager library to get the right installation of drivers needed without you having to worry about it.
Once you can see an available blank browser window it’s just a matter of navigating to the website containing the image you want to download:
| |
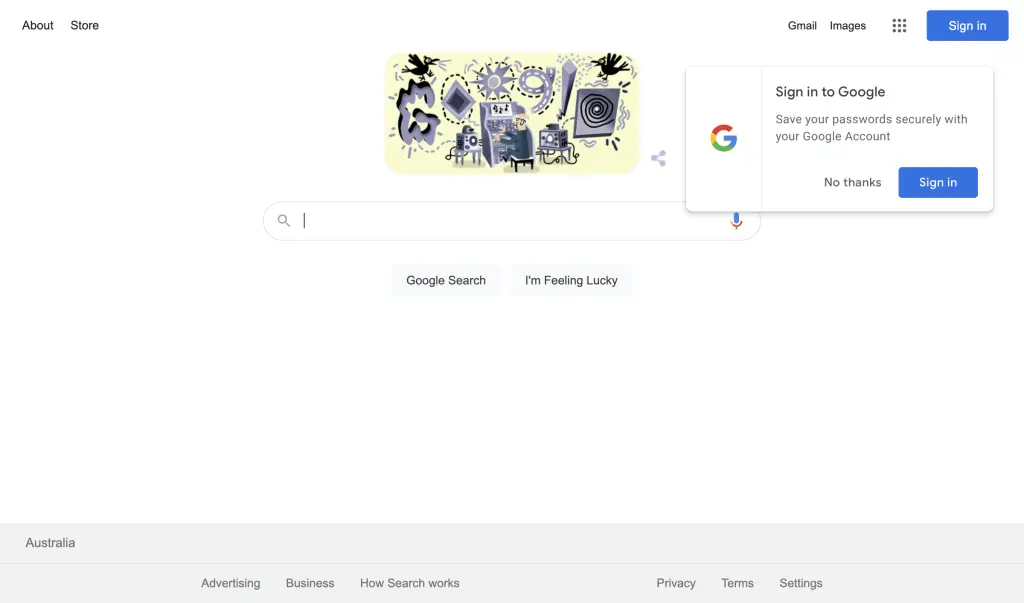
This brings up the Google search page. To capture the image on this page (the one immediately above the search bar), you would need to obtain to source URL of the image. To obtain this image you would need to locate something unique about the html img tag – in this case, it has an id of hplogo – so I’ll use this information to capture the src attribute:
| |
Once you know you have the correct url you can navigate to this page using the .get() method on the web driver. Go to this URL and then use the .save_screenshot(file_name) to capture a screenshot of the image:
| |
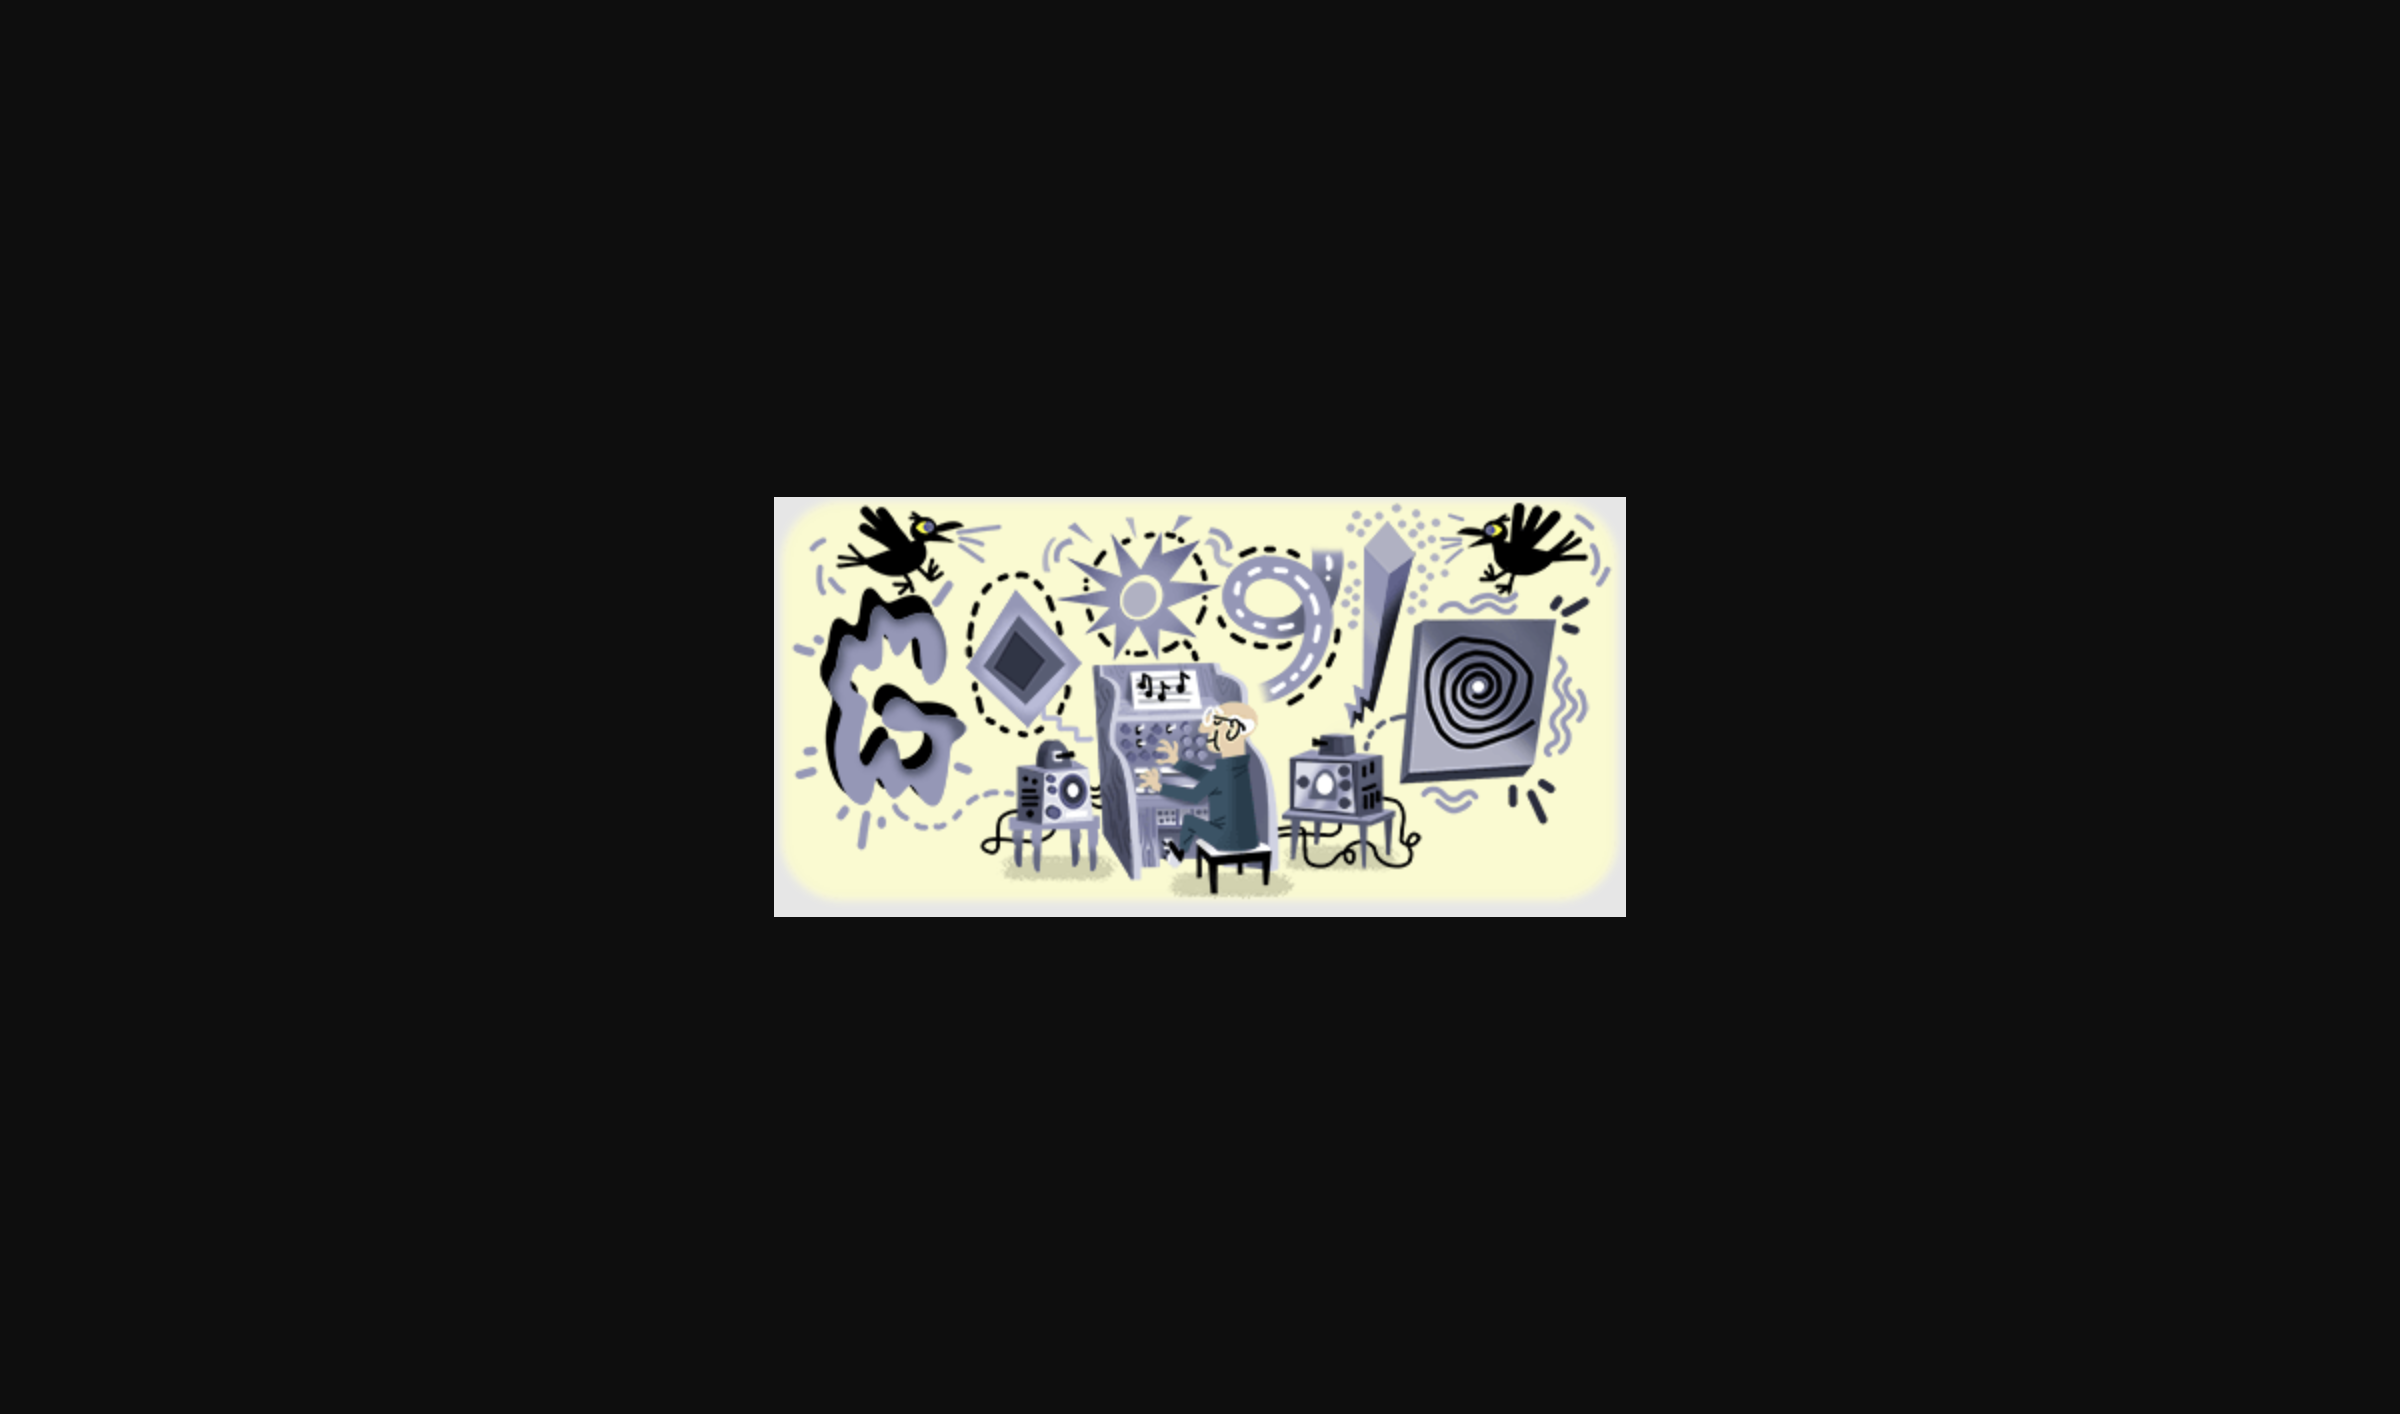
As you can see, the resulting capture includes all the unnecessary padding around the image. You could apply edits to the image, but this would require further work on obtaining the size of the image in the viewport (etc etc).
While this approach means you do not need to install any additional libraries, it does restrict the quality of the image and means further work is needed to cut off aspects around the image that aren’t part of the image.
Here’s the totality of the code that produced the image using the save_screenshot() method:
| |
Another alternative approach is to install a library that can help download images to your computer by operating on the context menus of the browser.
Download Images With Selenium And PyAutoGUI
One library that makes it easier to perform operations on the browser using Python is pyautogui.
PyAutoGUI enables the use of using your mouse and keyboard through code on the active browser window.
This means you can use Selenium to navigate to the URL of the image you want to download, then have PyAutoGUI download the image, and return control back to Selenium to continue processing.
Here’s an example demonstrating how to download the same Google image as before, but using the pyautogui library:
| |
![]()
As you can see with the above code, using the pyautogui library enables downloading the image in its original form but there are additional lines and imports needed to effectively make it work.
Three libraries I have found are needed: Selenium’s ActionChains, pyautogui and Python’s native time library.
Selenium’s ActionChains library is needed to help right-click on the image. To right-click on an image using Selenium use action.move_to_element(img).context_click().perform() the .context_click() method is the right-click browser action.
Upon right-clicking on an image, the context menu appears, which shows an option to Save Image As… to select this option, I hand over control to pyautogui where I use the .hotkey('command', 's') method to select save.
I then waited a couple of seconds using time.sleep(2) as the browser brought up the dialog window to await my next instruction on how I wanted to save this image. You might have to play around with the time.sleep() line for your code to make sure you’re allowing enough time for windows and prompts to appear.
Next is the instruction to enter the location where you want to save the image. The pyautogui.write(img_loc, interval=0.5) line types each character into the save dialog window, and again you will want to play with the interval parameter to make sure each character is being sent properly to the save window. If you have the interval parameter set to a number that is too small, such as 0.25 all the characters may not make it to the window.
The last set of instructions sent by pyautogui is pressing the .press('enter') key to save the image file name and then to save the actual image. You will want to allow enough time for the image to be downloaded before closing down the browser.
One final note: if you are saving files to a folder location, you may want to look at adding a feature to your code where you can check if the file already exists and increment the file name to prevent overwriting existing files.
Summary
Selenium provides a means of downloading images using the .save_screenshot() method. However, this means the image will not be of the original quality.
To download an image to your computer, use the PyAutoGUI library and with the help of the hotkeys and other key press methods, you can successfully save the image to your computer. However, this method does require time and may take longer for your script to run.