How can you apply conditional formatting on checkbox cells in Google Sheets?
Conditional formatting in Google Sheets can be applied to a range of checkboxes by applying the conditional formatting condition of Is equal to to TRUE.
Here’s an example demonstrating how to set a conditional format on checkboxes.
Create Checkbox Range
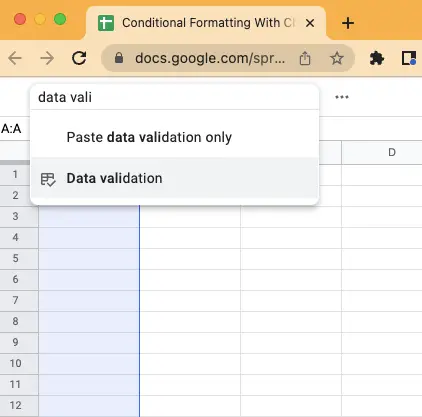
To create a range of checkboxes, select your range and then click on the Data Validation menu item.
Here I am using the compressed toolbar view, which allows me to type the menu item I want into the search bar and then select it with one click, as seen below:
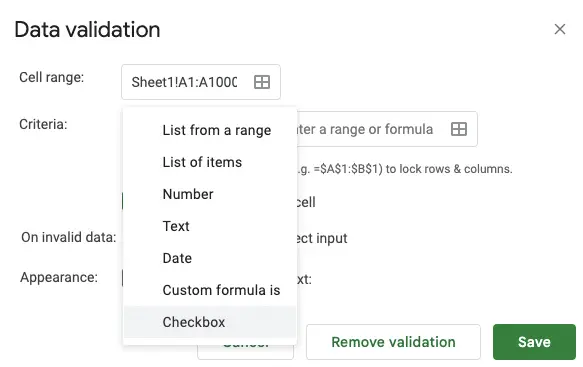
From the Data Validation modal window you need to select the Criteria drop down menu and select Checkbox.
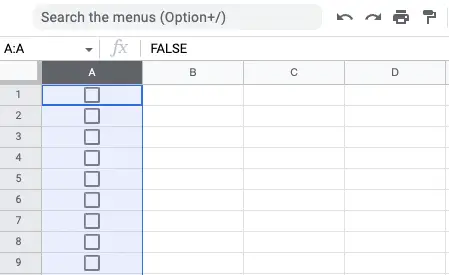
Upon clicking the Save button you should small individual checkboxes in each cell of the range you selected, as seen below:
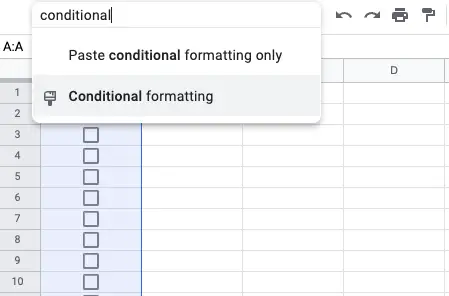
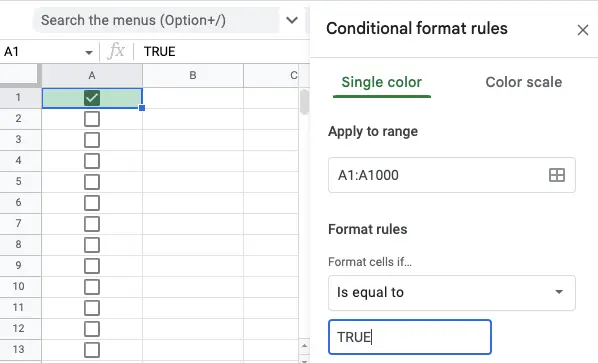
To apply conditional formatting to these cells with checkboxes navigate to the Conditional Formatting menu item, here I use the search menu and enter Conditional to have the menu item come up:
In the Format Rules area change the Format cells if… drop down field to Is equal to and in the corresponding field underneath set the value to TRUE, like so:
As you can see when selecting a checkbox in the range where the Conditional Formatting applies the background color changes to the format set.
You can apply the same method for highlighting a cell when the checkbox is NOT ticked. If this is your use case, then change the value in the format rule from TRUE to FALSE.
Then when a cell isn’t ticked it will highlight according to the format selected.
Highlight Row With Checkbox Ticked
If you wanted to extend your skillset to incorporate having a whole row highlighted when a range containing checkboxes is ticked, then you can change your conditional format to use custom formulas.
Running with the same example above if you wanted to highlight the complete row you first need to highlight everything on the active sheet, and then you would need to navigate to the Conditional Formatting menu item, add a new rule and in the Format Rules section select Custom formula is and then enter the following formula:
Here’s what this looks like:
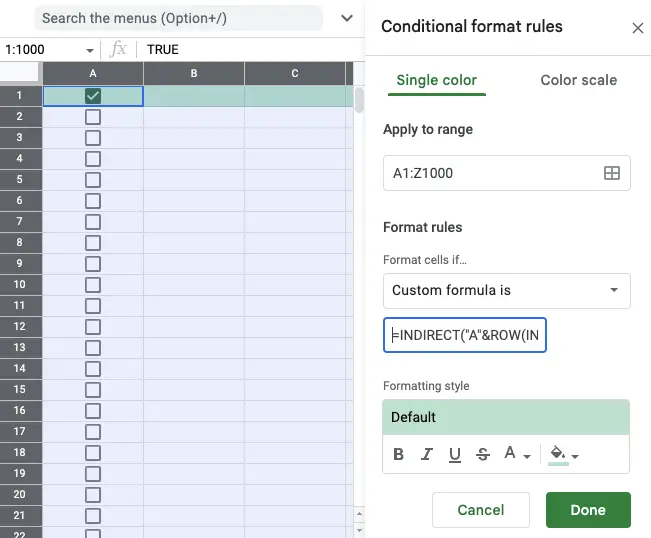
As you can see from the result above the entire first row is highlighted because the custom formula inspects the contents in column A and if it is TRUE highlights all cells in that row.
As the checkbox range is located in a column – "A" by capturing the active row using ROW(INDIRECT("RC", FALSE)) and wrapping both together with INDIRECT("A", ROW(INDIRECT("RC", FALSE))) each cell references the location of the checkbox change in column A and if it is TRUE then allows for the conditional formatting to occur.
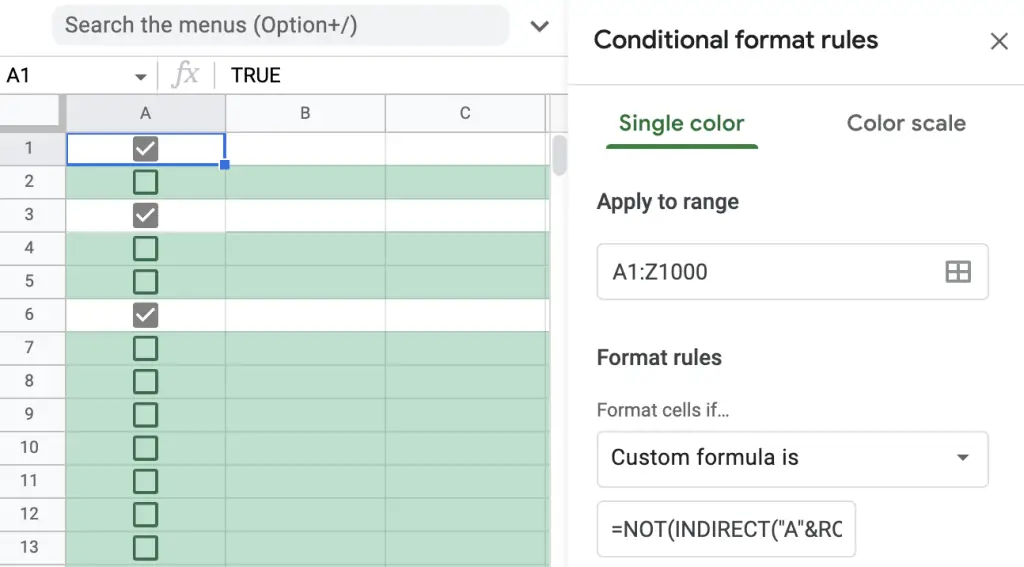
If you wanted the inverse where cells that aren’t ticked need to be highlighted, then all you would simply need to do is to wrap your formula with the NOT() function, like so:
Summary
To apply conditional formatting to cells with checkboxes simply use the rule Is equal to and set the field to TRUE.
Then apply the necessary format you want to display and whenever the checkbox is ticked it will display the chosen format.
If you want to display a format for when the checkbox is NOT ticked then change the field from TRUE to FALSE.
Also, if you want to highlight a complete row when the checkbox in a columnar range isn’t ticked, you can use the formula INDIRECT("A"&ROW(INDIRECT("RC",FALSE))) as a custom formula conditional format if your checkbox range is located in column A, otherwise, change the "A" to suit your checkbox column.